Why do I actually shoot in RAW format
What is the RAW format
Many digital cameras process images by default using an internal image processor and are stored compressed as JPEG. The sharpness, saturation, and brightness as well as the contrast e.g. are already adjusted by the preselected creative program.
However, this step is omitted in the RAW format and the data will stored uncompressed in a special RAW format in einem speziellen Roh-Format gespeichert. This makes it easier to process these files in common image editing programs, like e.g. Lightroom or Photoshop of Adobe.
What are the advantages and what are the disadvantage?
- Advantages
- full control, flexibility, and minimal loss of image quality
- very high dynamic range
- Disadvantage
- file size, (up to 10 times of a JPEG file)
- himself or herself is the man or woman,
because the subsequent image processing is already an obligation inevitably
Who would rather trust on the editing of his camera, he probably uses JPEG instead of RAW. Personally, I prefer the RAW format, because it allows me all the freedom of photography.
What is actually an HDR image (High Dynamic Range Image)
HDR images have a high dynamic range and high contrast. Surely you have already experienced situations, that images do not have uniform brightness and details are only vaguely or not at all recognizable. If this is not intended, then this can be adjusted by the HDR technique and the tone mapping afterwards.
Newer cameras have already integrated this function, but deliver as a finished image a JPEG. Here we are again at the point as above: Do I just want to rely on my camera or do I would like to remain the man or woman of the situation?
The prerequisite for HDR photography is an exposure series. This means, at least 2 images of the same setting with the same ISO and aperture but different exposures are needed. You can use the auto exposure bracketing of your camera, which usually takes 3 pictures with the set exposure with 1 f-stop lower and higher.
An example: I would like to take a photo with ISO 100, aperture 8 and 1/60 s. So Auto Exposure Bracketing delivers to me each the normal exposed picture with the 1/60 s, an overexposed with 1/30 s and an underexposed image with 1/125 s.
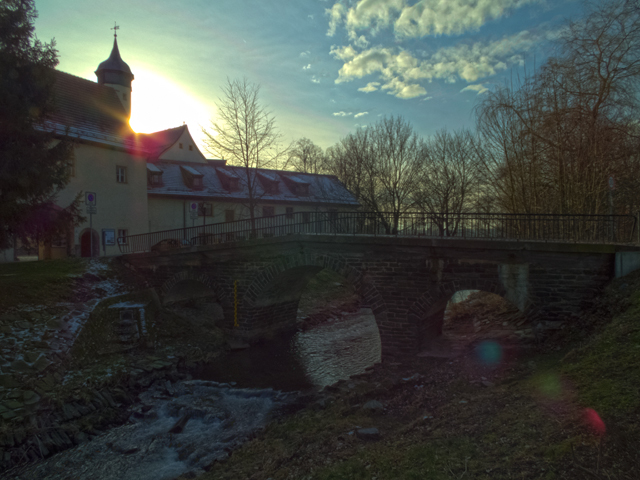
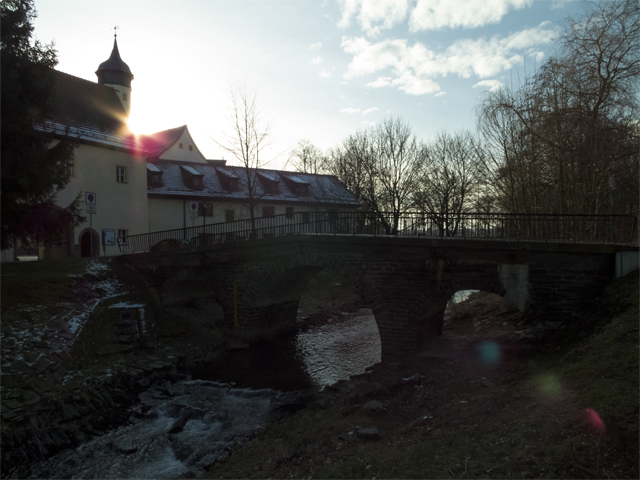
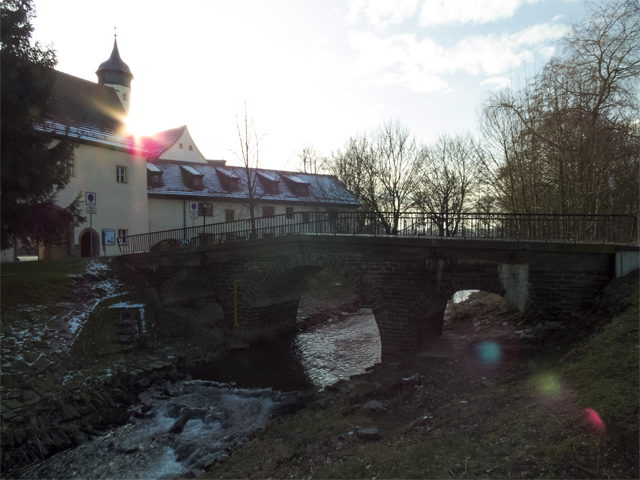

The resulting 32 Bit HDR image will be converted in a 16 Bit image and with HDR-Toning it can then be corrected e.g. the same time still the exposure.
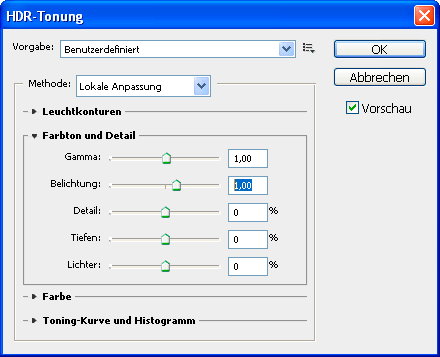

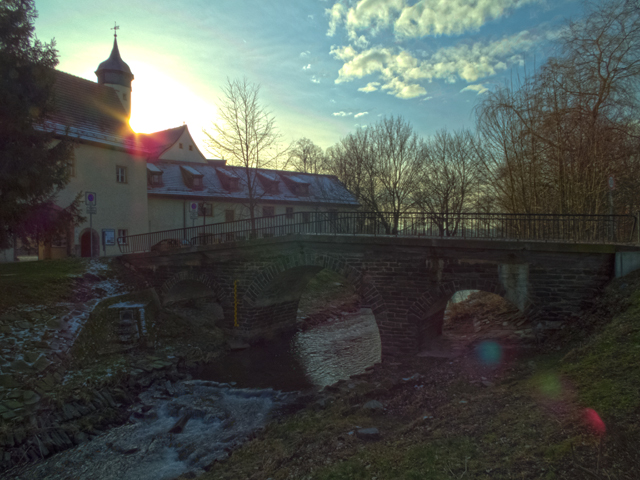
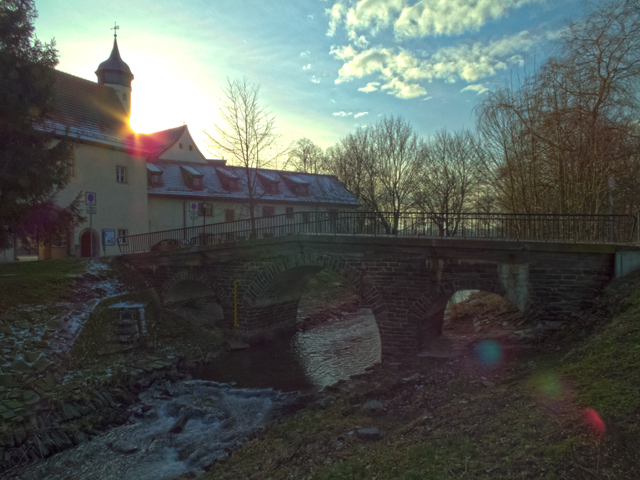
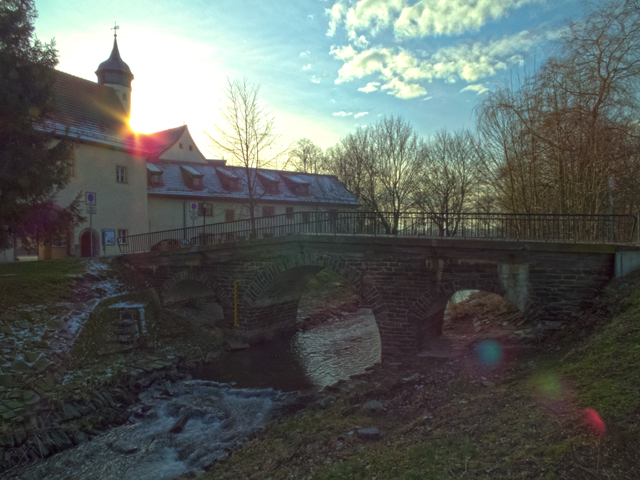
The difference is now clearer between the reference image with a shutter speed of 1/125 s and the post-exposed HDR image, where the exposure compensation has been increased by 100%.


Since at least 3 pictures are taken one after the other, a tripod is definitely recommended. Certainly it works without it. Only here is the risk of blurring, especially especially since the overexposed takes a longer time than normal and the images can then no longer be blended correctly.
Good image editing programs can compensate for that, but it's just a compromise solution and each larger the sensor, each clearer it becomes. But more on that below …
Most of the time I try to take more than 3 pictures, since this can provide more details, as shown here in the video:
That would look like this with the picture as described above o.g.:
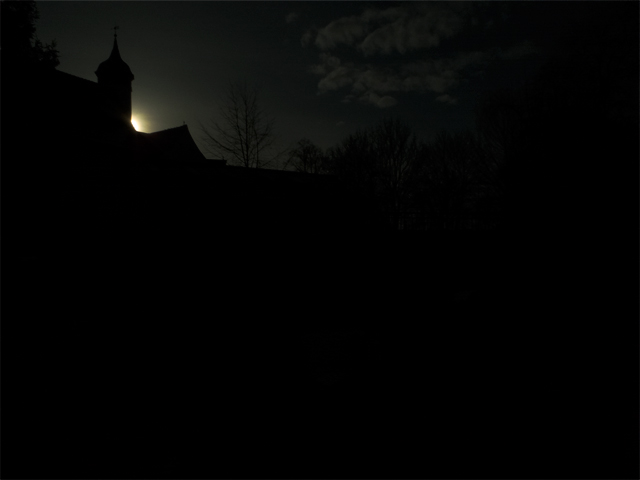
1/4000 s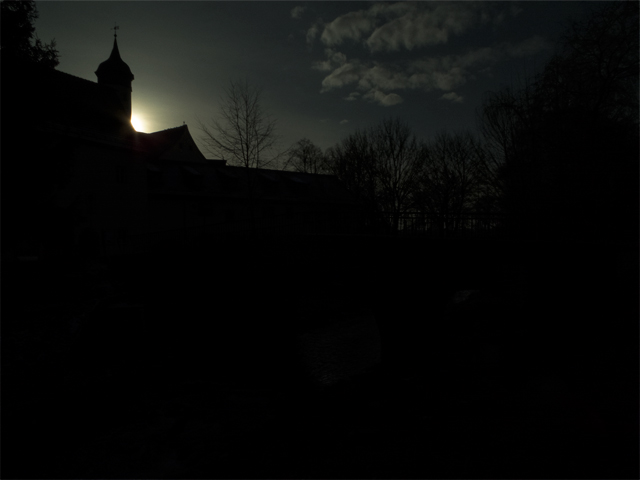
1/2000 s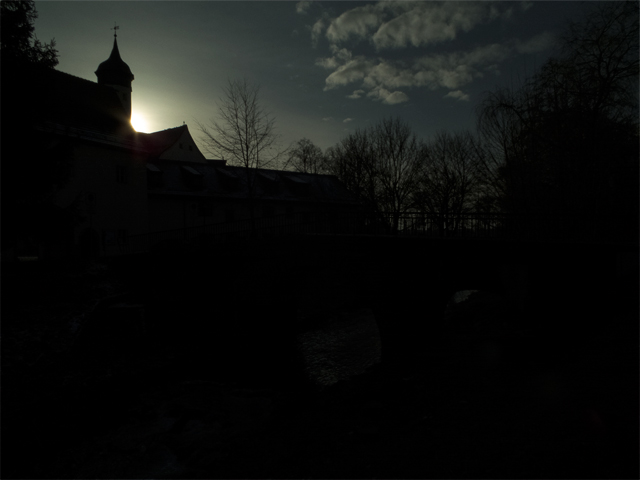
1/1000 s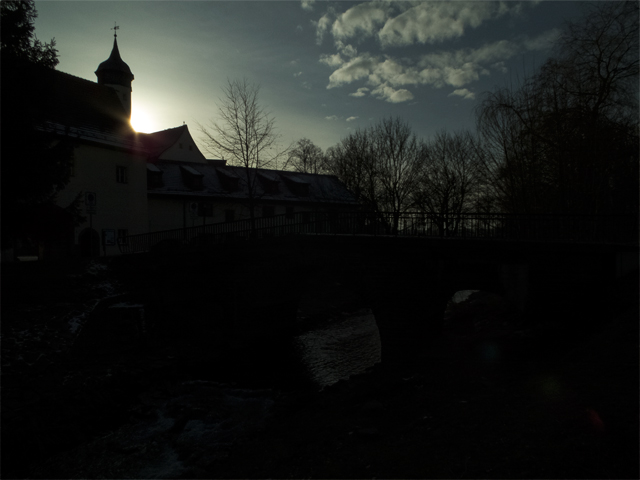
1/500 s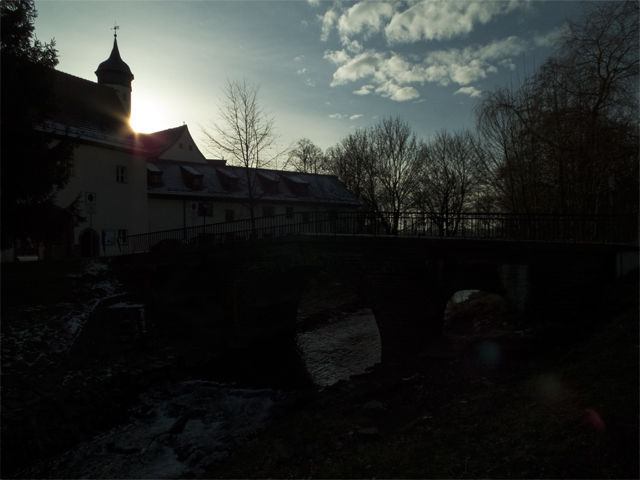
1/250 s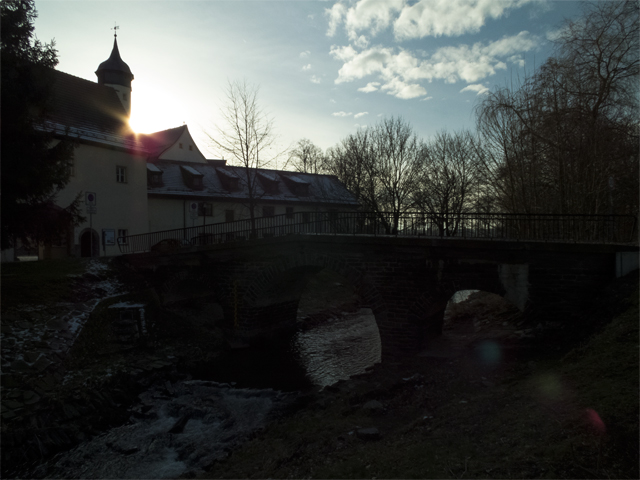
1/125 s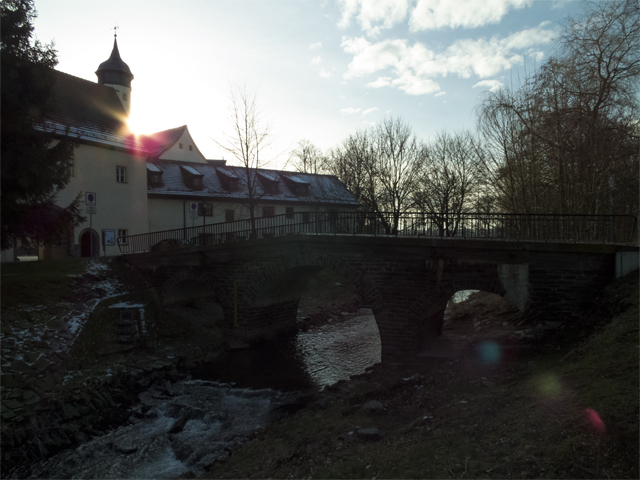
1/60 s (Reference image)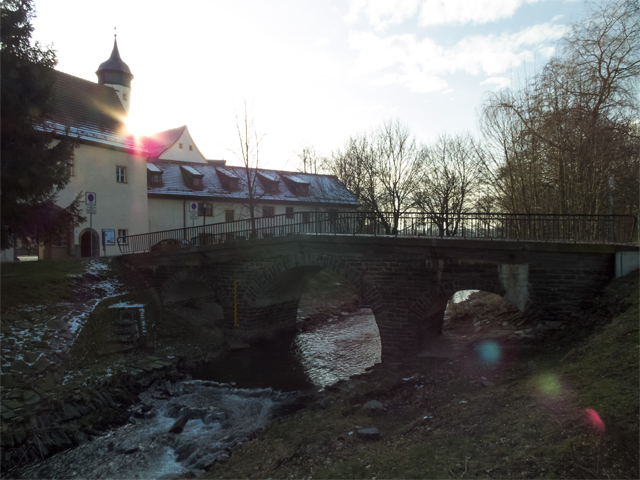
1/30 s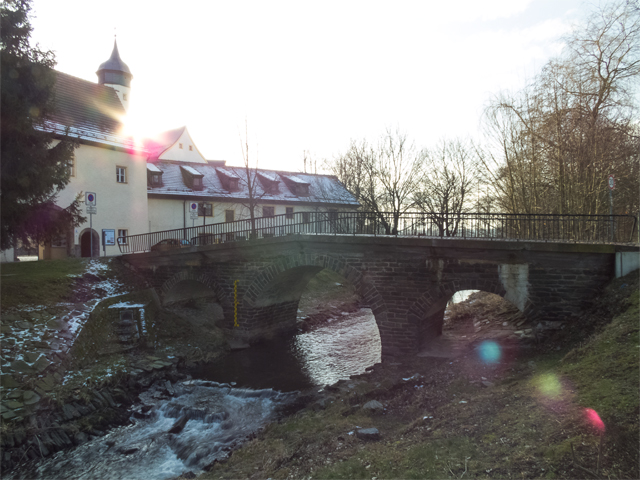
1/15 s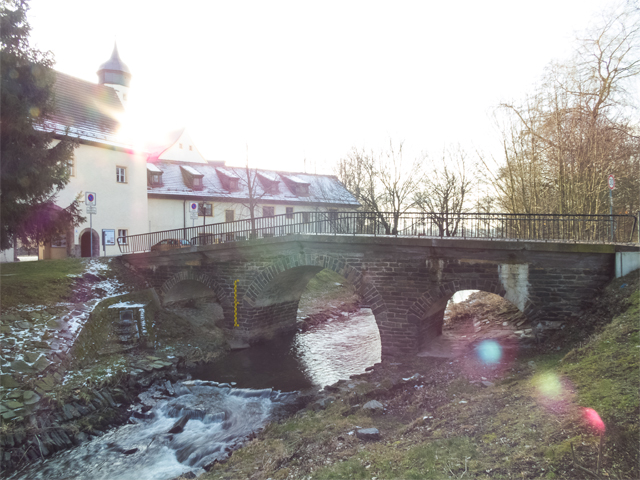
1/8 s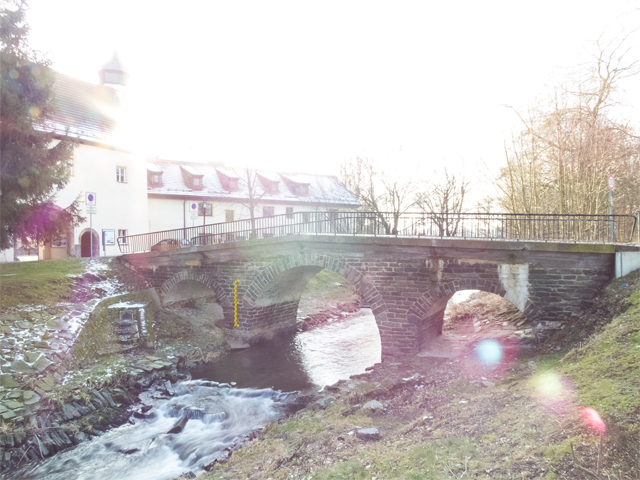
1/4 s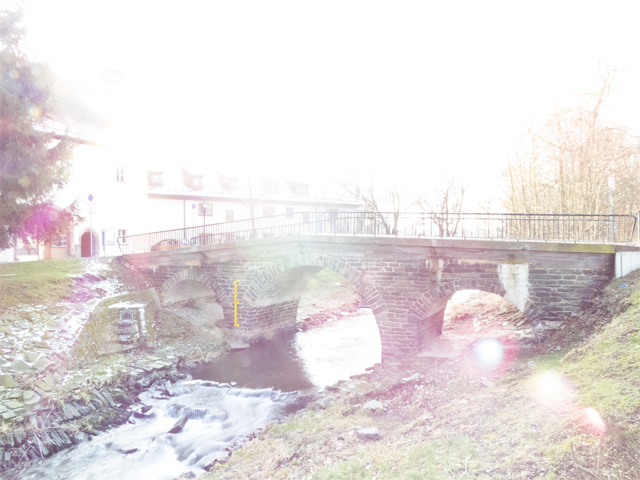
1/2 s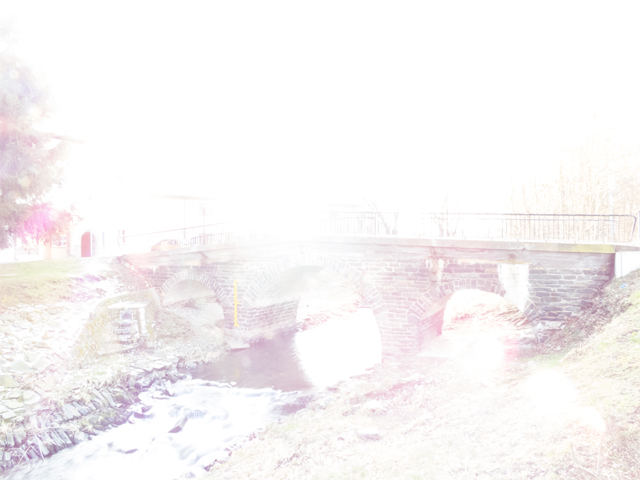
1/1 s
Subsequently, these images are merged in an image editing program and may be post-processed as shown here in the video e.g. will be shown:
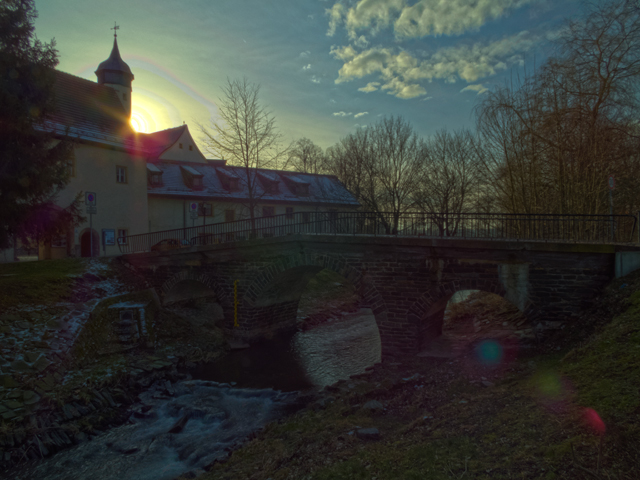
In the comparison of the reference image and the HDR images with 13 as well as 3 images, it is easy to see that in the HDR image with 13 images in the bright areas can be seen even more details.


How do I actually create my panoramas
With panoramas it is similar to the HDR images. In many digital cameras, this feature is already available and allows such images freehand too. However, it also provides only a compressed JPEG.
That's why I mainly use a tripod and a nodal point adapter. How this works and is set, this video describes:
It is certainly possible to get by without this adapter. But this leads to undesirable distortions, especially in close-ups, such as buildings, which are difficult or impossible to correct. Another problem is the pivot point of the camera. Mostly the tripod thread of the camera is mounted eccentrically, so that then these distortions are even clearer.
The adapter also allows multi-line panoramas that contain details, which could not be recorded with the built-in camera function.
Especially interesting are panoramas as HDR. It can already happen that several hundred individual images are combined to an overall picture, which then become several gigabytes and meters tall.
What does influence the crop factor of a digital camera actually have on the focal length
The sensor sizes are responsible for the Cropfaktor and the focal length of the lens used does not change as a result, but the image section.
Sensors as format 24 x 36 mm, which are installed in the full-frame cameras, corresponds to Crop 1. This means, a smaller sensor also provides a smaller image area, reduced by just this cross factor.
However, it also means that if a 50mm lens with a camera that does have a Cropfaktor of 5.4, shows the same effect for a full-frame camera with a 270mm focal length lens. Only the image section with the full-frame camera is just larger by a factor of 5.4.
Now we come already to the next point …
What does influence the sensor size of a digital camera actually have on the depth of field
At the depth of field in conjunction with the aperture, the sensor size has a much stronger effect. With smaller sensors, the so-called cropping with open aperture and short focal lengths is rather difficult. Therefore, in the studio portrait and macro photography compact it is cameras and smartphones rarely encounter, to get good results.
Due to the design these devices already do have a continuous depth of field at aperture 8, so that they do have their legitimacy but definitely in landscape and travel photography.
Surely there would have been other alternatives, but it was important for me to be able to use Pol and gradient filters. And that works just with the Fuji's However, Who want to know more about it, will certainly find a lot of interesting information on YouTube:
My experiences with
- analog full-frame cameras
Everything started with the Beirette SL 100. This camera was given to me during my schooldays for my birthday. A plastic housing and only "nice weather", "cloudy", and "any" I could adjust here. I had to estimate the focal length and the viewfinder was just a "peep hole ". But it accompanied me to every trip and was also always on vacation and on our hiking days with us. And all in black and white, because color films were expensive at that time and for slides, this camera was not really suitable.
Mainly I used then the SL full-frame film S/W Negativfilm ORWO NP 20.
The next step was several Minoltas X-300.
Purchased on eBay with several lenses, it was now my first reflex camera. Still without autofocus and with one, in the viewfinder displayed light meter. From now on, of course, I was able to shoot in color. - digital bridge cameras
Also a gift was my first digital, a Kodak EasyShare P850, a bridge camera from the inventor of digital cameras with a 1/2.5" CCD sensor, 5.8 x 4.3 mm, (Cropfaktor 6.0) and- 5.1 megapixels (effective)
- Focal length: 36 to 432 mm (35mm-equivalent), 12x optical zoom
- Filter thread: 55 mm
- Image formats: JPG, RAW, TIF
Here I discovered the RAW format for the first time too.
When a former colleague bought the predecessor model of Fujifilm FinePix HS30EXR and this showed to me, I also decided to stay with the bridge cameras and to buy myself a new digital, which still fit into the budget.
But now with a 1/2" CMOS sensor with 6.4 x 4.8 mm, (Cropfaktor 5.4) and- 16.0 megapixels (effective)
- Focal length: 24 to 720 mm (35mm-equivalent), 30x optical zoom
- Filter thread: 58 mm
- Image formats: JPG, RAW
it has equipped.
When the tripod thread, which is only plastic, was over-twisted, because with every change of battery the quick change shoe had to be unscrewed, I switched to Fujifilm FinePix HS50EXR, which now has a focal length of 24 to 1000 mm (35mm-equivalent) and thus a 41.7-fold optical zoom. Now, the shoe does not have to be removed every time.
Surely there would have been other alternatives, but it was important for me to be able to use Pol and gradient filters. And that works just with the Fuji's …
… but anticipated, a 1/2" sensor just stays just a 1/2" sensor, as it is also installed in a Smartphone. And there you can not expect miracles …
Sequel follows certainly ☺ …